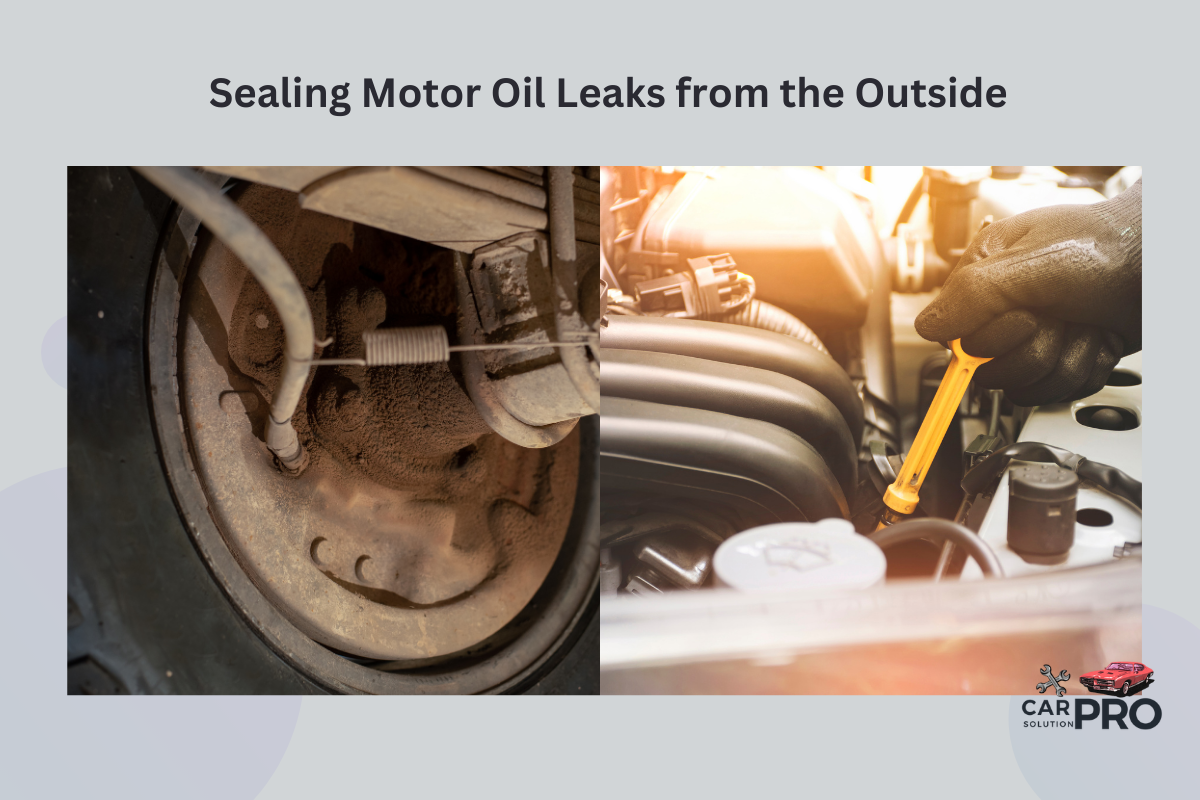
Oil leaks can be a major headache for car owners. They make a mess, waste expensive motor oil, and may lead to engine damage if left unchecked. Many people think fixing oil leaks requires taking apart the engine, but that’s not always true. Sealing motor oil leaks from the outside can often fix the problem without costly repairs.
There are several ways to seal oil leaks externally. Products like AT-205 Re-Seal can be added to the oil to help stop leaks. For visible leaks, special sealants can be applied directly to the leak area. These methods are usually much cheaper and easier than replacing gaskets or other engine parts.
Before trying to seal a leak, it’s important to find where it’s coming from. Common leak spots include valve cover gaskets, oil pan gaskets, and camshaft seals. Once the leak is found, the right product can be chosen to fix it. With some basic tools and careful work, many oil leaks can be stopped without a trip to the mechanic.
Key Takeaways
- External sealants can fix many oil leaks without taking apart the engine
- Finding the exact source of the leak is key to choosing the right fix
- Regular maintenance helps prevent future leaks after sealing
Understanding Motor Oil Leaks
Motor oil leaks can cause serious damage to engines if left unchecked. They waste oil, create messes, and may lead to engine failure. Knowing the causes, common leak points, and signs of oil leaks helps car owners spot and fix problems early.
Causes of Motor Oil Leaks
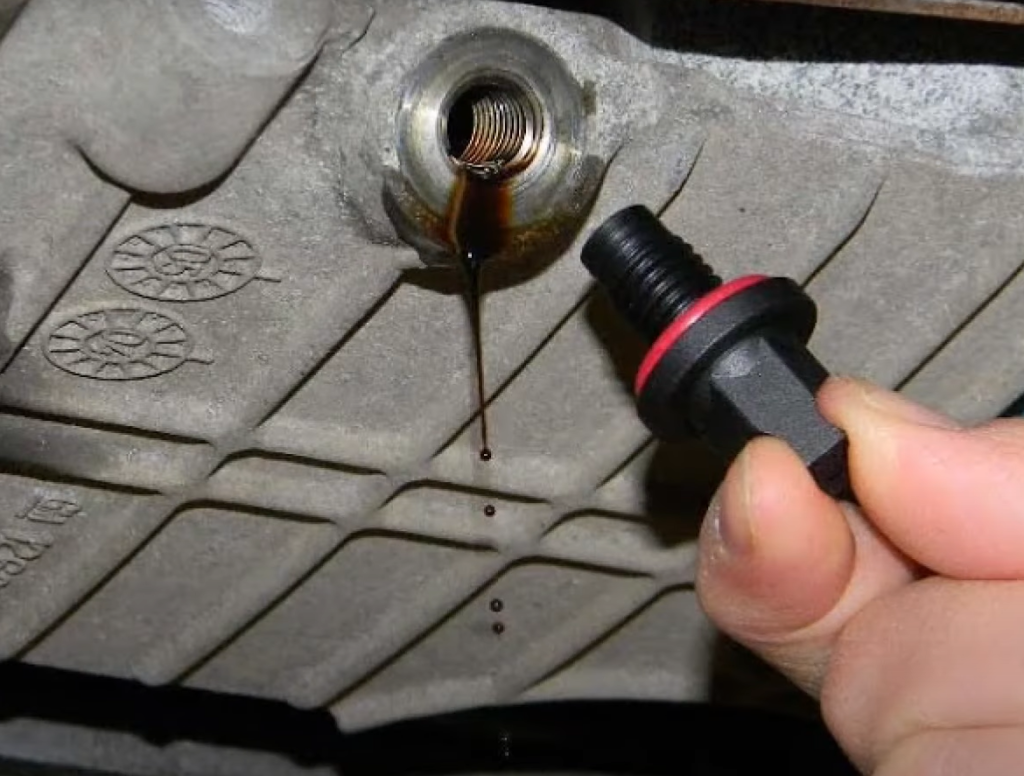
Age and wear are top causes of oil leaks. As cars rack up miles, seals and gaskets break down. Heat and pressure in the engine speed up this process.
Poor maintenance also leads to leaks. Not changing oil on time causes sludge buildup. This can damage seals and gaskets.
Overfilling the oil pan puts extra stress on seals. This can force oil past worn seals. Using the wrong type of oil can also damage seals over time.
Road debris or accidents may damage oil pans or lines. Even small cracks can let oil seep out slowly.
Common Leak Points in an Engine
Oil pan gaskets often leak as they age and harden. The valve cover gasket is another frequent culprit. It seals the top of the engine.
Rear main seals keep oil in where the crankshaft exits the engine. These can fail and cause major leaks.
Oil drain plugs may leak if not tightened properly after oil changes. Loose or damaged oil filters also let oil escape.
Some engines have oil cooler lines that can crack or come loose. Timing cover gaskets and camshaft seals are other spots to check for leaks.
Symptoms and Signs of Oil Leaks
Oil spots on the ground under a parked car are a clear sign of leaks. The smell of burning oil may mean leaks onto hot engine parts.
Low oil levels between changes point to leaks. Check the dipstick often to catch this early.
Blue exhaust smoke can mean oil is leaking into combustion chambers. This wastes oil and can foul spark plugs.
Oil on engine parts during visual checks hints at leak sources. Look for wet, oily areas on the engine block.
Some cars have oil pressure warning lights. These may come on if leaks cause low oil levels.
Overview of Sealing Techniques
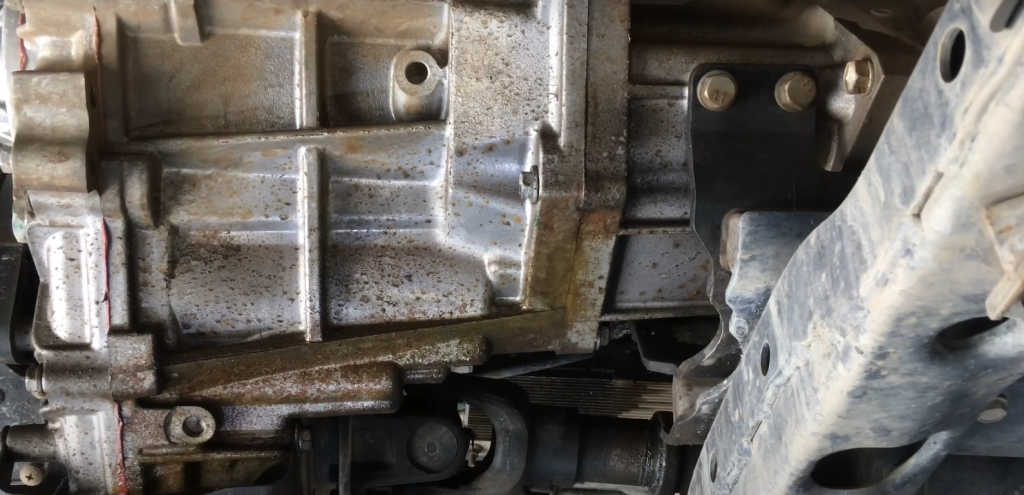
Motor oil leaks can be fixed using different methods. These include mechanical seals and chemical sealants. Before sealing, proper preparation is key to ensure the best results.
Mechanical Seals vs Chemical Sealants
Mechanical seals involve replacing parts like gaskets or O-rings. These are good for big leaks. Chemical sealants are easier to use and work well for small leaks.
AT-205 Re-Seal is a popular chemical sealant. It can be mixed with engine oil to fix various seal types. This method is quick and doesn’t need much skill.
For larger leaks, replacing gaskets might be needed. This takes more time and skill. A mechanic may be required for complex jobs.
Some sealants come as sprays or pastes. These can be applied directly to the leak area. They form a tough seal when dry.
Preparation for Sealing Oil Leaks
Clean the leak area before sealing. Use a degreaser to remove oil and dirt. This helps the sealant stick better.
Identify the exact leak spot. Sometimes, UV dye in the oil can help find small leaks. Let the engine cool down before working on it.
For chemical sealants, check if they’re safe for your engine type. Some may not work with certain oils or materials.
If using mechanical seals, get the right size and type for your engine. Wrong parts can cause more problems.
Safety is important. Wear gloves and eye protection. Work in a well-ventilated area when using chemical products.
External Sealant Solutions
External sealants offer quick fixes for minor oil leaks without disassembling engine parts. These products come in different forms and can be effective for sealing small gaps and cracks.
Epoxy Sealants
Epoxy sealants are strong adhesives that can fill small cracks and holes in metal surfaces. They work well for sealing oil leaks from the outside of an engine.
Epoxy sealants typically come in two parts that must be mixed before application. This creates a chemical reaction that hardens the epoxy.
To use epoxy sealants:
- Clean the leaking area thoroughly
- Mix the two epoxy components
- Apply the mixture to the leak
- Allow it to cure fully
Epoxy sealants can withstand high temperatures and pressures. This makes them suitable for various engine parts, including oil pans and valve covers.
Silicone-Based Sealants
Silicone-based sealants are flexible and resistant to oil and heat. They can seal gaps and prevent leaks in many engine areas.
These sealants often come in tubes or spray cans for easy application. Permatex Spray Sealant is a popular choice that forms a rubber-like barrier to stop leaks.
Key benefits of silicone sealants:
- Remain flexible after curing
- Resist vibration and temperature changes
- Can be applied to slightly oily surfaces
To use silicone sealants, clean the area as much as possible and apply the product according to instructions. Multiple thin layers often work better than one thick layer.
Step-by-Step Application
Sealing motor oil leaks from the outside requires careful preparation and execution. The process involves cleaning the area, applying the sealant correctly, and allowing proper curing time. Following these steps closely will help ensure a successful repair.
Surface Cleaning and Preparation
Start by locating the exact source of the oil leak. Clean the area thoroughly with a degreaser to remove all oil and dirt. Use a wire brush to scrub away any rust or loose material. Rinse the area with clean water and dry it completely with a lint-free cloth.
For best results, sand the surface lightly to create a better bonding surface for the sealant. Wipe away any dust with a clean, dry cloth.
Mask off surrounding areas with tape to protect them from the sealant. This step is crucial for a clean and professional-looking repair.
Applying the Sealant
Choose a suitable oil leak sealant for your specific leak. Common options include:
- AT-205 Re-Seal
- Blue Devil Engine Oil Stop Leak
- Permatex Spray Sealant Oil Leak
Read the product instructions carefully before application. Shake the sealant container well if required.
Apply the sealant evenly over the leak area. Use a brush or applicator tool for liquid sealants. For spray sealants, hold the can 6-8 inches away and apply in thin, even coats.
Be sure to cover the entire leak area and slightly beyond to ensure a complete seal. Avoid applying too much sealant, as this can cause drips or uneven curing.
Curing and Testing for Leaks
Allow the sealant to cure fully. Curing times vary by product, but typically range from 1 to 24 hours. Avoid starting the engine or exposing the area to oil during this time.
After curing, remove any masking tape. Start the engine and let it run for a few minutes. Check the repaired area for any signs of continued leakage.
If no leaks are visible, take the vehicle for a short test drive. Recheck the area after the drive to ensure the seal is holding under normal operating conditions.
Monitor the repaired area over the next few days. If the leak persists, you may need to reapply the sealant or consider professional repair options.
Maintenance Post-Sealing
After sealing an oil leak, ongoing care is crucial. Regular checks and proper maintenance help ensure the repair remains effective long-term.
Monitoring for Recurring Leaks
Keep an eye out for signs of new leaks. Check the ground under your parked vehicle regularly for fresh oil spots.
Inspect the sealed area visually. Look for wet spots or discoloration that may indicate seepage.
Use a clean cloth to wipe the sealed spot periodically. Any oil residue on the cloth could mean the leak is returning.
Pay attention to your vehicle’s oil levels. A sudden drop may point to a recurring leak. Check the dipstick weekly and top up if needed.
If you notice any of these signs, don’t wait. Have a mechanic check your vehicle promptly to prevent further damage.
Regular Check-Ups and Oil Changes
Stick to your vehicle’s recommended oil change schedule. Fresh oil helps maintain seal health and engine performance.
During oil changes, ask your mechanic to inspect the previously sealed areas. They can spot potential issues early.
Keep your engine clean. Dirt and grime can hide small leaks. A clean engine makes it easier to spot problems.
Consider using high-quality oil additives. Some products can help maintain seal flexibility and prevent future leaks.
Have your vehicle serviced regularly. Professional check-ups can catch developing issues before they become major problems.
Frequently Asked Questions
Oil leaks can be frustrating, but there are many solutions available. These common questions address sealant options, DIY fixes, costs, and preventive measures for dealing with motor oil leaks.
What is the best sealant to use for an oil leak?
AT-205 Re-Seal is a popular choice for sealing oil leaks. This polymer-based product works well for various types of oil seals.
Bar’s Leaks Oil Seal Engine Oil Burning and Leak Repair is another effective option. It’s designed to stop leaks in gaskets and seals.
Can Permatex Spray Sealant be used to stop a motor oil leak?
Permatex Spray Sealant can be used for small oil leaks. It’s best suited for hard-to-reach areas where applying a liquid sealant might be difficult.
This product forms a flexible, rubber-like coating that can help seal minor leaks.
Is Flex Seal an effective solution for sealing oil leaks?
Flex Seal is not recommended for sealing motor oil leaks. It’s not designed to withstand the high temperatures and pressures inside an engine.
Using Flex Seal could potentially cause more damage to your engine.
How can I stop an oil leak under my car?
To stop an oil leak, first clean the area thoroughly. Use a degreaser to remove all oil residue.
Identify the exact location of the leak. Common areas include the oil pan, valve covers, and gaskets.
Apply an appropriate oil sealant to the leak. Follow the product instructions carefully for best results.
What is the estimated cost to repair an oil seal leak?
The cost to repair an oil seal leak varies depending on the location and severity of the leak. Minor leaks can often be fixed with sealants for under $50.
More serious leaks may require professional repair. These can cost anywhere from $150 to $1000, depending on the specific issue and labor involved.
How can I prevent oil leaks from staining my driveway?
Place a drip pan or cardboard sheet under your car when it’s parked. This will catch any leaking oil before it stains the driveway.
Clean up any oil spills promptly with cat litter or a commercial oil absorbent. Scrub the area with a degreaser and rinse thoroughly.
Consider applying a driveway sealer. This creates a protective barrier that makes it easier to clean up oil stains.
When you purchase a product through Amazon links on carsolutionpro.com, we may earn a small commission at no extra cost to you. This helps support the site and keep our content free. As an Amazon Associate, we earn from qualifying purchases made through our links.
