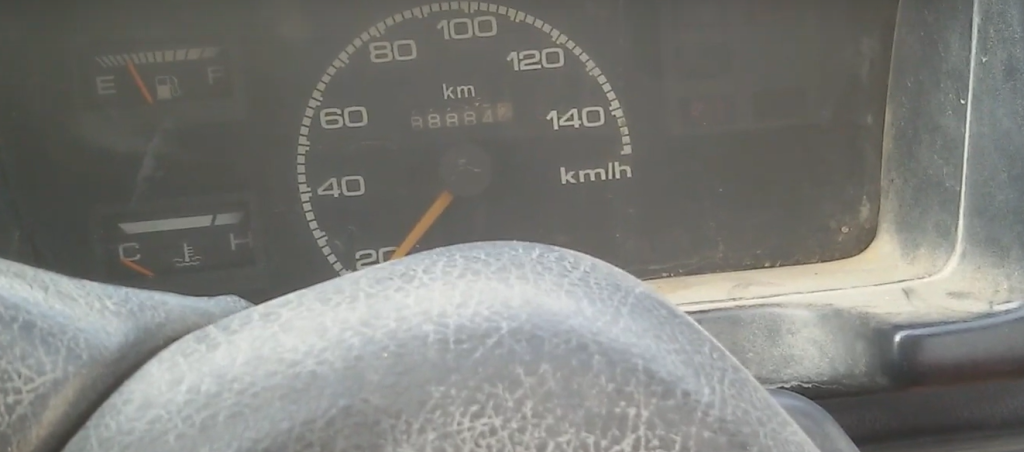
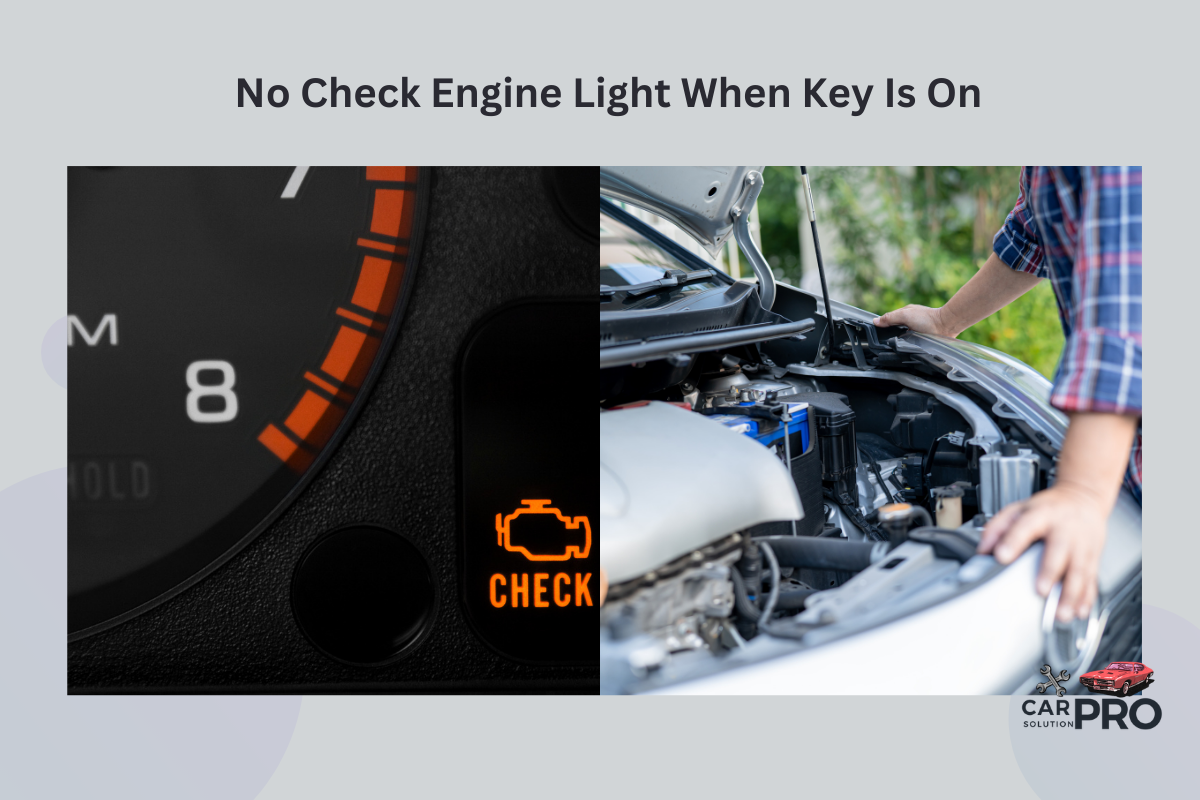
When you turn your car key to the “on” position, you expect to see certain lights illuminate on your dashboard. One of these is the check engine light. If this light doesn’t come on, it might indicate a problem. A missing check engine light during key-on could mean a blown fuse, faulty bulb, or issues with the car’s computer system.
This situation can be confusing for drivers. The check engine light is crucial for alerting you to potential engine problems. Its absence when the key is turned on doesn’t always mean your car is problem-free. It could actually signal an underlying issue that needs attention.
Addressing this issue promptly is important. Ignoring it might lead to more serious problems down the road. Regular maintenance and quick action when you notice something’s off can save you time and money in the long run.
Key Takeaways
- A non-functioning check engine light can indicate electrical or computer issues
- Regular vehicle maintenance helps prevent dashboard light problems
- Prompt attention to unusual dashboard behavior can prevent bigger issues
Understanding the Check Engine Light
The check engine light is an important warning system in modern vehicles. It alerts drivers to potential issues with the engine or emissions systems.
Function and Purpose

The check engine light, also called the malfunction indicator lamp, is part of a car’s onboard diagnostics system. It turns on when sensors detect a problem with the engine, transmission, or emissions control system.
The light’s main job is to warn drivers about issues that could damage the car or cause it to fail emissions tests. When lit, it means the car’s computer has stored a diagnostic trouble code.
This code can be read with a scan tool to help figure out what’s wrong. Some common triggers include a loose gas cap, faulty oxygen sensor, or bad catalytic converter.
Common Reasons for Illumination
Many things can make the check engine light come on. A few frequent causes are:
- Faulty oxygen sensor
- Loose or damaged gas cap
- Bad catalytic converter
- Worn spark plugs or wires
- Mass airflow sensor problems
Less common but serious issues include:
- Engine misfire
- Low oil pressure
- Overheating
If the light is flashing, it usually means a severe problem that needs immediate attention. A steady light is less urgent but should still be checked soon.
Ignoring the light can lead to worse damage and more expensive repairs. It’s best to have a mechanic diagnose the issue when the light comes on.
Key On, Engine Off (KOEO) Test
The KOEO test checks electrical systems and sensors with the key in the “on” position but the engine not running. It’s an important diagnostic tool for identifying issues before they cause bigger problems.
Procedure for KOEO Test
To start the KOEO test, insert the key and turn it to the “on” position without starting the engine. The check engine light should come on for a few seconds. If it doesn’t, there may be a problem with the bulb or wiring.
Next, connect a code reader to the diagnostic port. Most modern vehicles have this port under the dashboard. The code reader will initiate the test automatically.
During the test, the PCM checks circuits, sensors, and other components. It looks for any electrical faults or issues. This process usually takes about 30 seconds to complete.
After the test finishes, the code reader will display any error codes found. Write these down for further investigation.
Normal Light Behavior During KOEO
When you turn the key to “on”, all dashboard warning lights should illuminate briefly. This is called the “bulb check” and ensures all warning lights are working properly.
The check engine light should stay on for about 15-20 seconds. This is normal behavior and shows the system is functioning correctly.
After the initial period, most warning lights will turn off. If the check engine light stays on, it could indicate a problem that needs attention.
Some vehicles may have different light behaviors. Always refer to your car’s manual for specific information about warning light patterns during the KOEO test.
Diagnostic Approaches
When facing a non-illuminating check engine light, several diagnostic methods can help pinpoint the issue. These approaches range from simple visual checks to using specialized tools for deeper analysis.
Initial Inspection and Common Fixes
Start with a basic visual inspection of the dashboard. Look for any burnt-out bulbs or loose connections. Check the fuse box for any blown fuses related to the check engine light circuit.
Next, inspect the battery connections. Loose or corroded battery terminals can cause electrical issues, including a non-functioning check engine light. Clean the terminals and ensure they’re tight.
Examine the wiring harness for any visible damage or loose connections. Pay special attention to areas near the engine where heat and vibration can cause wear.
If these initial checks don’t reveal the problem, try disconnecting the battery for a few minutes. This can sometimes reset the system and restore proper function.
Using a Scan Tool or Code Reader
A scan tool or code reader is crucial for diagnosing check engine light issues. Connect the device to your car’s OBD-II port, usually located under the dashboard.
Turn the key to the “on” position without starting the engine. The scan tool should power on and attempt to communicate with the car’s computer.
If the scan tool doesn’t detect any codes, it could indicate a problem with the car’s communication system. This might be due to a faulty OBD-II port or issues with the car’s computer.
Some advanced scan tools can perform live data readings. This feature can help identify sensor malfunctions that might not trigger a code but could prevent the check engine light from illuminating.
Checking Powertrain Control Module (PCM) Connections
The PCM is the brain of your car’s engine management system. Start by locating the PCM, which is often found under the hood or behind the glove compartment.
Inspect all connections to the PCM for signs of corrosion, looseness, or damage. Ensure all plugs are securely fastened.
Check the ground connections. A poor ground can cause various electrical issues, including a non-functioning check engine light.
If you’re comfortable doing so, carefully remove the PCM and inspect its housing for any signs of water damage or overheating. These issues can cause internal failures that might prevent the check engine light from working properly.
Electrical Troubleshooting
When a check engine light fails to illuminate with the key in the on position, electrical issues are often to blame. A thorough inspection of the instrument cluster and testing of the light bulb and socket can help pinpoint the problem.
Inspecting the Instrument Cluster
Start by examining the instrument cluster for any obvious signs of damage or disconnected wires. Look for loose connections or corrosion on the back of the cluster.
Remove the cluster carefully and check all wiring harnesses for secure connections. Inspect fuses related to the instrument panel and replace any that are blown.
Use a multimeter to test for power at the cluster connector when the key is in the on position. If there’s no power, the issue may lie in the ignition switch or related wiring.
Testing the Light Bulb and Socket
Remove the check engine light bulb from its socket in the instrument cluster. Inspect it for signs of burning or a broken filament.
Test the bulb’s continuity using a multimeter. If it’s faulty, replace it with a new one of the same type and wattage.
Check the bulb socket for corrosion or damage. Clean it gently with electrical contact cleaner if needed.
Use the multimeter to test for power at the socket when the key is on. If there’s no power, the problem may be in the wiring between the socket and the engine control module.
Preventative Measures and Best Practices
Regular car maintenance is key to avoiding check engine light issues. Get your vehicle serviced at recommended intervals.
Keep an eye on fluid levels. Check and top up engine oil, coolant, and other fluids regularly.
Pay attention to unusual sounds, smells, or vibrations. Address these promptly to prevent bigger problems.
Use high-quality fuel and parts. Cheap alternatives can cause engine problems and trigger the check engine light.
Don’t ignore minor issues. Small problems can grow into major ones if left unchecked.
Clean or replace the air filter as needed. A clogged filter can affect engine performance.
Check and replace spark plugs at recommended intervals. Faulty spark plugs can cause misfires.
Inspect belts and hoses for wear and tear. Replace them before they fail.
Use a code reader to check for trouble codes periodically, even if the check engine light isn’t on.
Keep your battery terminals clean and tight. Loose connections can cause electrical issues.
Don’t overload your vehicle. Excess weight can strain the engine and trigger warning lights.
Frequently Asked Questions
Check engine light issues during ignition can be puzzling for car owners. These questions address common concerns about why the light may not illuminate and how to troubleshoot the problem.
Why is my check engine light not illuminating when I turn the ignition to the ‘on’ position?
A non-illuminating check engine light when turning the key could indicate a few issues. The bulb may be burnt out or there could be a wiring problem.
In some cases, the car’s computer might have a malfunction. Diagnostic tools can help pinpoint the exact cause.
Should the check engine light appear when I switch the key to the ‘on’ position, even before starting the engine?
Yes, the check engine light should come on briefly when the key is turned to the ‘on’ position. This is part of the car’s self-check system.
The light tests if it’s working properly before the engine starts. It should turn off after a few seconds if no issues are detected.
What could be the reasons for the check engine light not coming on at all when I start the car?
Several factors can cause the check engine light to stay off. A blown fuse or a faulty bulb are common culprits.
Wiring issues or a malfunctioning engine control unit (ECU) could also be responsible. In rare cases, the light may have been disabled by someone.
Is there a common issue pertaining to certain vehicle brands where the check engine light fails to show when the ignition is on?
While not brand-specific, some car models may be more prone to check engine light issues. Older vehicles might experience this problem more often due to wear and tear.
It’s best to consult the vehicle’s manual or a professional mechanic for model-specific information.
How do I troubleshoot a non-functional check engine light in my vehicle?
Start by checking the fuse related to the check engine light. If it’s intact, inspect the bulb and wiring.
Using an OBD-II scanner can help identify any stored error codes. If these steps don’t work, a professional diagnosis may be necessary.
What steps should be taken if the check engine light does not turn on when expected during ignition?
First, verify if other dashboard lights are working. If they are, focus on the check engine light specifically.
Check the car’s manual for guidance. If the issue persists, schedule an inspection with a qualified mechanic to diagnose and fix the problem.
When you purchase a product through Amazon links on carsolutionpro.com, we may earn a small commission at no extra cost to you. This helps support the site and keep our content free. As an Amazon Associate, we earn from qualifying purchases made through our links.


